
1. The 70% Hydration Baker's Formula
High hydration (80%+) makes dough slack, sticky, and difficult to shape for beginners. This recipe uses a dialed-in 70% total hydration, providing enough water for an open, airy crumb while maintaining exceptional structural tension:
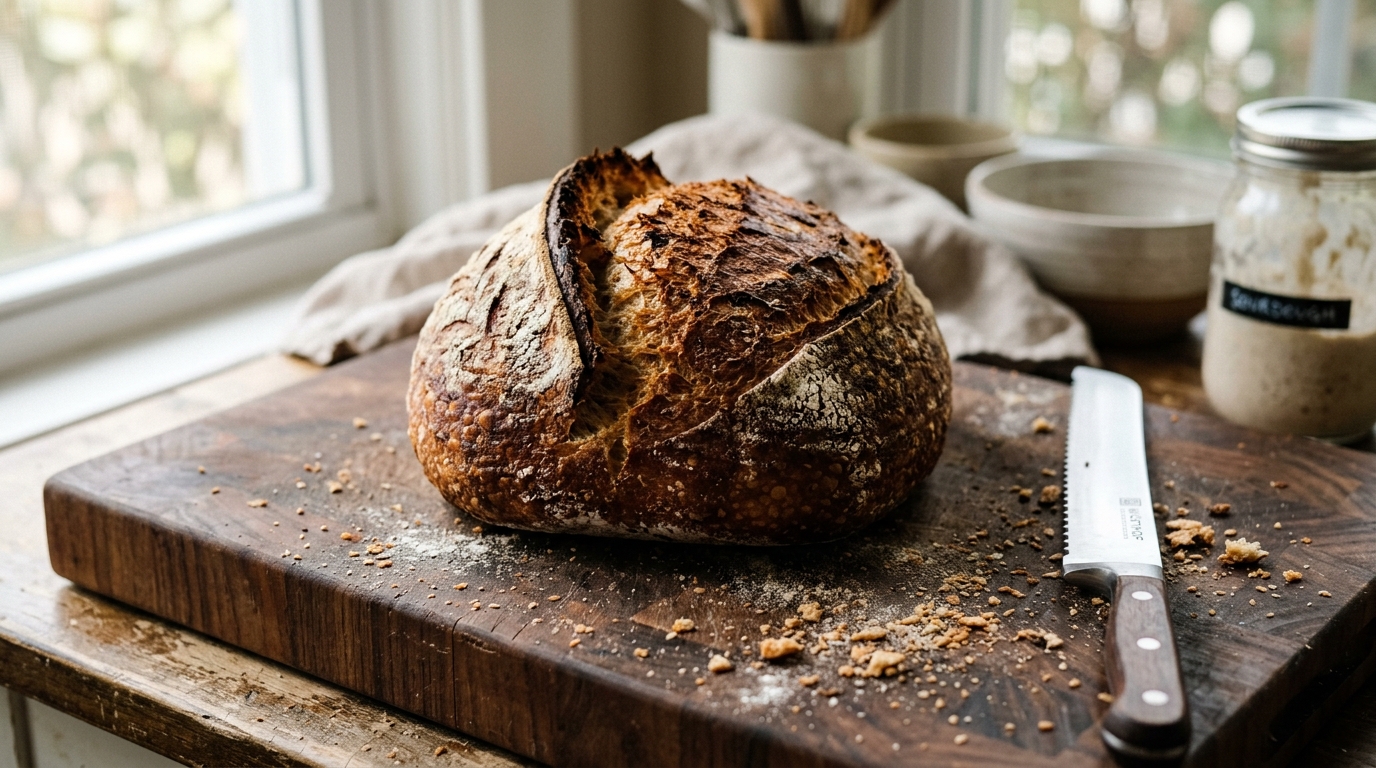
- Bread Flour (12.5% protein): 400g (80%)
- Whole Wheat Flour: 100g (20%)
- Water (26°C / 78°F): 350g (70%)
- Active Levain (fed 1:1:1): 100g (20%)
- Fine Sea Salt: 10g (2%)
2. Master Baking Day Timeline
A predictable schedule removes all anxiety from baking day:
- 8:00 AM: Feed starter (100g active levain needed).
- 1:00 PM: 45-minute autolyse (flour + water).
- 1:45 PM: Add levain and salt; perform preliminary Rubaud knead.
- 2:30 PM – 4:30 PM: 4 sets of stretch-and-folds every 30 minutes.
- 4:30 PM – 6:30 PM: Uninterrupted bulk rise until dough increases by 50–60%.
- 6:30 PM: Pre-shape, 20 min bench rest, final shape into banneton.
- 7:00 PM – Next Morning: Cold overnight retard in refrigerator (3°C–4°C).
- 8:00 AM (Day 2): Preheat Dutch oven to 245°C (475°F), score, and bake.
3. Autolyse and Inoculation
Mix your flours and 330g of water together until no dry patches remain. Cover and let rest for 45 minutes. This process, called autolyse, hydrates the starch and allows gluten bonds to form spontaneously without mechanical kneading.
After autolyse, spread 100g of active levain and 10g of salt over the surface with the remaining 20g of water. Dimple with your fingertips and fold the dough over itself until smooth and unified.
4. Stretch & Folds and Bulk Fermentation
Perform four sets of stretch-and-folds spaced 30 minutes apart. Pull one quadrant of dough upward until you feel resistance, and fold it over to the opposite side. Rotate the bowl 90 degrees and repeat for all four corners.
During the remainder of bulk fermentation, monitor the dough volume in a straight-sided translucent container. Stop bulk fermentation when the dough looks aerated, domed at the edges, and has expanded by approximately 50% to 60%.
5. Shaping and Cold Retard
Tip dough onto an un-floured work surface. Gently pull edges toward the center to create a round parcel, then use your bench knife to roll it across the counter, building surface tension. Dust your banneton with a 50/50 mixture of white rice flour and bread flour.
Transfer the shaped loaf seam-side up into the banneton. Cover with a plastic shower cap and transfer directly to the refrigerator for 12 to 16 hours. The cold temperature slows fermentation, firms the dough for effortless scoring, and creates complex lactic-acetic flavors.
6. Baking with Steam in a Dutch Oven
Preheat your heavy cast iron Dutch oven inside your domestic oven at 245°C (475°F) for at least 45 minutes.
- Turn the cold dough out onto a sheet of parchment paper.
- Dust lightly with rice flour and make a single decisive score 1cm deep with a curved lame at a 30-degree angle.
- Carefully lower into the screaming hot Dutch oven, add one small ice cube underneath the parchment for extra steam, and cover with the lid.
- Bake covered for 20 minutes at 230°C (450°F).
- Remove the lid, lower heat to 215°C (420°F), and bake for an additional 20–22 minutes until deep mahogany golden.
Get The Complete Starter-to-Loaf System
Master every detail of hydration, crumb structure, fermentation schedules, and dough tension with our flagship digital master book and counter recipe cards deck.
Get Starter to Loaf Master Pack ($17) →Frequently Asked Questions
Why should beginners start with 70% hydration instead of 78% or 80%?
Higher hydration doughs are much stickier and prone to spreading flat if your shaping technique and dough strength are not yet mastered. 70% hydration offers the ideal balance of open crumb and manageable dough tension.
How do I know when bulk fermentation is truly finished?
Watch the dough, not the clock! It should feel light, airy, and pillowy to the touch, with visible bubbles beneath the surface and rounded, domed edges along the sides of the bowl.
How long must I wait before cutting into the baked loaf?
You must wait at least 2 full hours (ideally 3 to 4 hours) for the bread to cool completely. Cutting warm bread releases trapped steam and causes a gummy, sticky texture.